

By Willette Neijmeijer
Biography
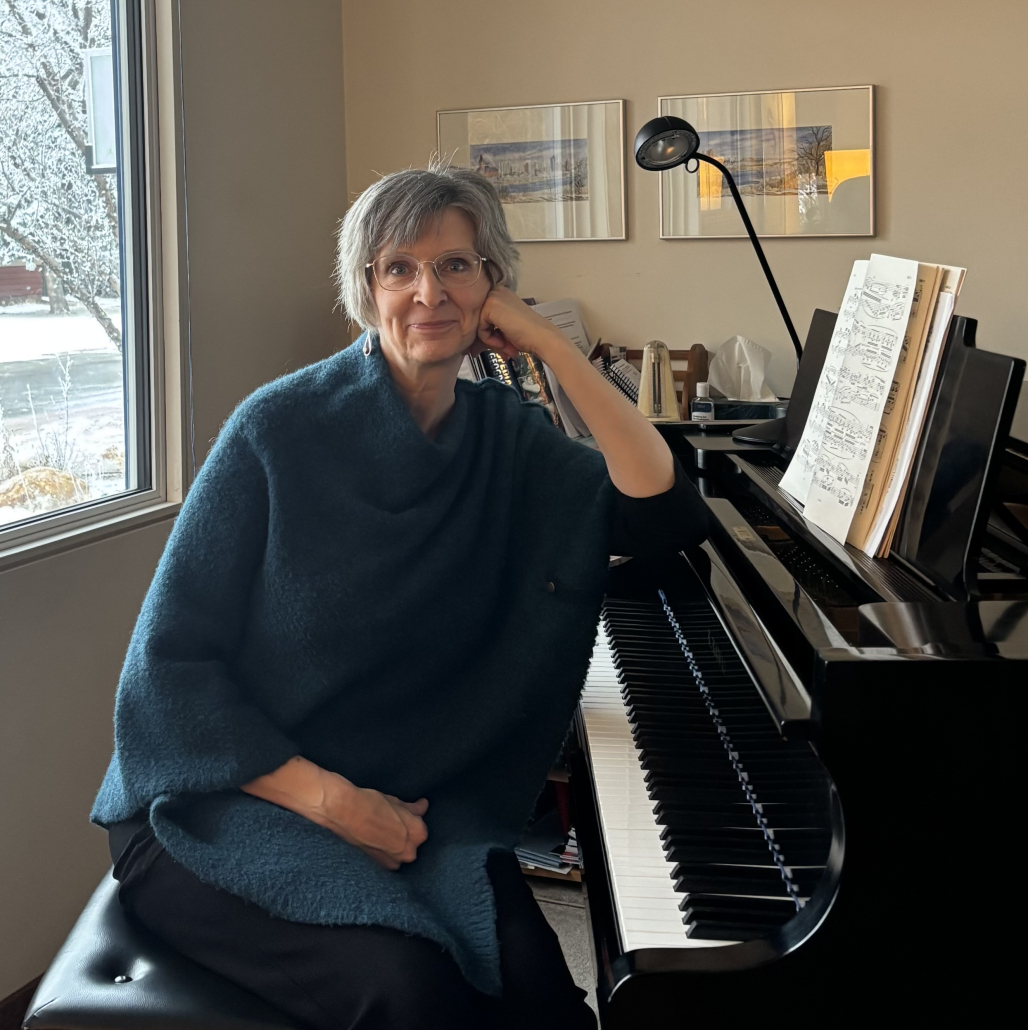
Willette Neijmeijer began her piano studies with Edna Thiessen of Saskatoon, but when she moved to B.C. at age 10, she continued her studies at the Victoria Conservatory of Music, where she completed her ARCT. There, her most influential teachers were Winifred Scott Wood and Alma Brock-Smith (from the Gustin studio). Despite working full time for decades as a public school teacher, Willette always maintained a small studio just because teaching music brought much satisfaction and joy. When Covid hit, Willette took the opportunity to do intensive piano pedagogy training with Irina Gorin, whose approach stemmed from the Russian/Eastern European school. This training has enhanced her teaching and given her the confidence to work effectively with very young children.
Helping Piano Students Experience Tension-Free Wrists
Tension in wrists is a common issue for our students. Unresolved, it creates great limitations and often frustration since much music is hard or impossible to play when excessive tension is present. Here are a few ideas that I have found helpful when teaching beginners and transfers.
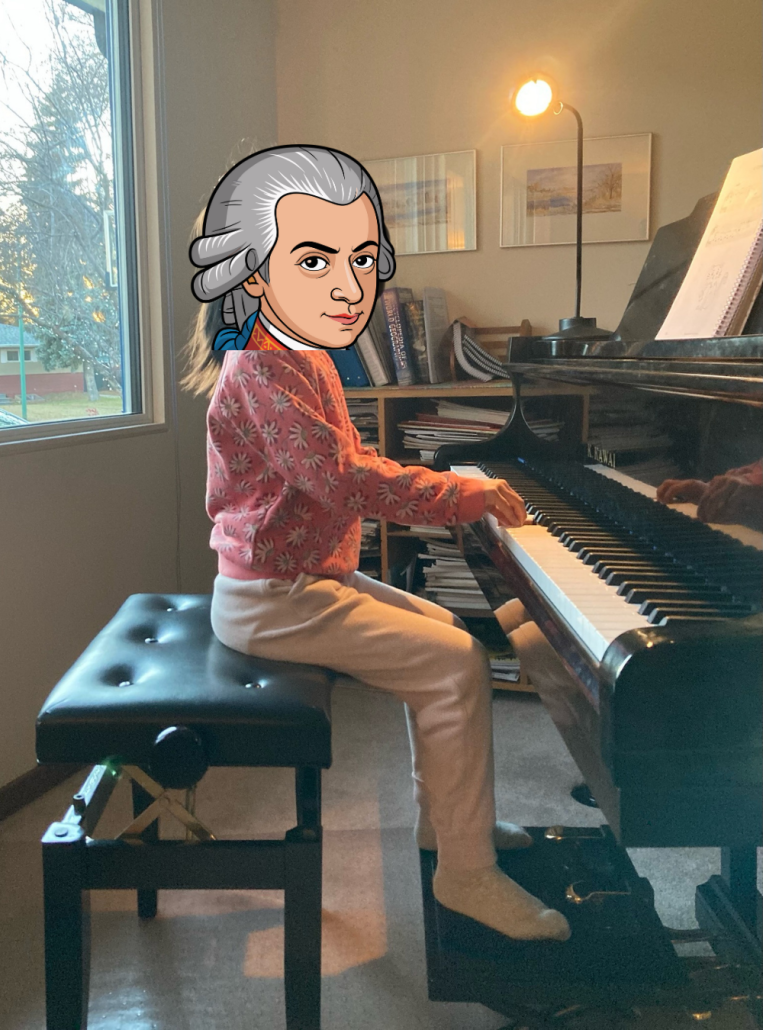
- It is essential that our students sit with correct posture at the piano. I hear many times from teachers that they have to correct their student’s posture during every lesson, and I am certain the reason is they are not sitting correctly at home! Nothing can be fixed technically if students do not sit properly. At the very first lesson I show parents what proper posture looks like and explain why this is so important. I ask them to send me a photo of their child at the piano the same or next day. We often have to try several times to adjust the height and distance of the bench and sometimes find support is needed for the feet. We are checking for height (the underside of the forearm should be level or slightly above the level of the white keys)—feet must be firmly planted with weight into the heels, and seat must be on the front half to third of the bench at a distance that allows the elbow to be positioned slightly in front of the body. This often takes some work and many tries. Because I request short videos on occasion throughout the year, I can continue to check their position as they grow. Another benefit of photos and videos is I get to see and hear the instrument and environment within which my students practice. Having a loud TV on in the background or noisy siblings in the same room is not conducive to great learning.
- Once we have the position established, I begin to work on developing a natural hand shape. I find picking up a pencil puts the hand into a great position. Once students know that feeling, I may just need to remind them briefly during the following lessons by saying ‘pencil hold,’ and they usually instantly find that shape. If not, we pick up the pencil again and explore that feeling and shape.
- I never start beginners with method books that begin in a 5-finger position. This is particularly harmful for tiny hands. We want the fingers to be ‘gathered’ with just a little space between them. Even as an adult, if I put my hand in a natural pencil hold, my 5th finger will not be over the 5th note. I want to develop freedom in their wrist and a natural hand position from the first lesson. We practice ‘breathing’ our hands up to the piano and down. The wrists are the lungs for the hands.
- We experiment with moving our hands from one position to another. Wider distances use a rainbow movement, allowing the student to feel the freedom and weight of the arm while keeping the hand relaxed over long distances. If students are struggling to let their hand droop from their wrist, I find it helps to have a thick elastic band or silk-type scarf under their wrist. I ask them to let me lift their wrist, and I will carry their arm/wrist to the next destination. They can often replicate that feeling without help once they have experienced this.
- For shorter distances we imagine a butterfly on our wrists, lifting our wrists gently as we float to another note within the octave and landing gently on the key. No notes need to be played at this point. They are just exploring the movement. Children learn kinaesthetically, so the more experience we can give them for the feel of this freedom, the faster they learn. As adults we sometimes like to overexplain with words. This is not the best way for young children to learn.
- When teaching young ones to play with a natural hand position and free wrist, I always start with using only finger 3 (and only non legato). It is the most balanced place on the hand and the longest and strongest finger. Children and many transfers are prone to play with tense fingers, flat fingers, collapsed joints, etc. You are all familiar with the variables! It can take time, but be patient. Again, they have to feel what it is like, not just be told to curve their fingers! I find hand manipulation is key. You will see in the video how I place my hands. Before even playing a note, we explore the full vertical range of motion of the wrist while keeping the 3rd finger in contact with the key. For the first notes, my finger is actually touching the note slightly ahead of the student so they can focus on the flow and the sound. I am able to support their joint. My other hand can help the student experience the breathing wrist and can also help encourage maintaining a proper bridge for the hand. When teaching the feeling of wrist freedom, it is normal and desirable for the motions to be exaggerated at first, but as the student learns, we begin to subside these motions.
- Once students are familiar with non legato notes using the third finger, I add in the 2nd. The 4th finger requires extra attention because many students will just keep their wrist strictly centred. I see this or inward-turning wrists a lot. The wrist must shift outwards slightly to align with the 4th finger. This will be even more true when playing the 5th. Learning to support the 4th and 5th by aligning the wrist is an essential skill for freedom of the wrists.
- Thumbs are frequently problematic. In the video I demonstrate briefly how I might introduce thumb action and placement to a student.
- Finally, I introduce legato, starting with legato pairs—2-note slurs. Here students are learning lateral motion. Students learn to sink deeply into the first note, then shift weight to the second and float off. Frequently students want to push off the second note, creating a much louder second note. I want the second note to be softer. Using words like ‘glid- ing’, helps the student to listen carefully and control their sound. The two notes should form one gesture. Students then advance to 3, 4, and 5 note slurs, continuing to learn to shift their weight and allow their wrist to lead, using only one gesture.
- One thing I find very helpful when teaching students is to have them place their hand gently on top of my wrist or hand as I demonstrate a certain movement. They can then more easily imitate that motion and feeling.
- If you have a student who persists in playing with very low wrists, first check how they practice at home. Second, I tease them, putting a paper with a shark drawn on it into the fall board and telling them to make sure their wrists don’t go into shark waters. (That usually gets many giggles and students remember and correct themselves!) Hand manipulation is also very useful here. Frequently students are playing near the edge of the white keys. Guiding their hand to play closer to the back keys (the exception being the thumb, which SHOULD play closer to the edge of the white keys most of the time), and sometimes just gently pushing their wrist inwards toward the piano, will make their bridge pop up and put them into a natural hand position.
In closing, I wish to encourage every teacher to never give up. It can take a long time to develop a healthy technique. For some students it comes quite naturally, and for others it is a huge challenge, requiring patience and persistence. Teaching is itself an art. We have to know when it is time to insist or push a student and just how much. Too much becomes counterproductive and creates a sense of defeat. Sometimes, when success seems out of reach, just acknowledging and praising their effort and assuring them that someday this will probably be easy for them can do wonders.
When I was a schoolteacher, I had a poem by William T. Joyner on my desk as a reminder to myself. To close, I wish to share it with you.
You are
a people-maker
Look!
You smile
and they come to
life.
You frown,
they wilt.
You pull within yourself,
they retreat.
But
when you aim belief at them,
they rush forth
from all kinds of dungeons,
and they are
beautiful!
You are
a people-maker.